

With what has been going on in the world recently, I thought some of my customers might enjoy reading the following and perhaps inspiring them to capture some beautiful pictures of their child. I would love to see your photographs. Although phone quality is improving all the time to get complete control and use of different lenses and all the possibilities that brings, you may want to invest in a dedicated camera if you’re going to take your photography to the next level. The internet has fantastic articles on beginners’ cameras. If I were starting my journey again, I would opt for any mirrorless Fuji XT camera the optics, and resulting image quality is breathtaking.
Do not flash; use natural light instead.
The problem with automatic flash when you cannot control it, it can sometimes result in very flat images and a washed-out look, particularly with babies, so whenever possible switch it off.
The best natural light in your house usually will be from a large window. It would be best if you position your child about 50 cm facing you, so the light is coming in at an angle of around 45 degrees. (experiment placing your child closer and further back from the window.) If you find that your child’s face is too dark on the side facing away from the window, then you could position a mirror on that side to bounce light back. Alternatively, get a piece of cardboard and cover it with tin foil and use that instead.
By Using Natural light, you will appreciate how much it flatters people and mostly they will too! Opportunities for candid photography become better as well because without the flash you become will become less intrusive and conspicuous.
Natural indirect light is best, the shade of a tree or under a canopy, or just diffused by your window. When the light shines around your child, you will notice interesting soft shadows adding shape to your composition. When facing your child straight on, lighting from the front creates a very soft, shadow-less portrait. Behind your child, backlight enhances colours and creates a bright backdrop.
Find out about your camera.
The fully automatic settings on most cameras these days, what are known as point and shoot cameras do not always help you make the most out of the photograph you are taking.
Learning about your camera is exciting and will enable you to become more creative.
Your Camera Manual is your friend – look for these items to improve your photography.
- Find out how to turn the flash off on your camera. I have said it already, and I will repeat it. Using available natural light is far superior to flashbulb light and make use of it as often as you can.
- Discover if your camera will allow you to change the aperture setting manually. A wider aperture, which is the size of the opening in the lens, will give you a shallower the depth of field in your photo. You may notice that professional photos quite often have softly blurred backgrounds and focus primarily on the subject itself. You also can achieve by experimenting with your aperture setting.
- Suppose you can change the shutter speed of your camera to suit the situation. A fast shutter speed over 1/250th of a second will help freeze even the fastest-moving subject, while a slow shutter speed may create some pleasing motion blur that gives you visual clues about how the subject is moving. Play around and see what happens!
- By adjusting the ISO of your camera, which is the sensitivity of your camera to light. The higher the ISO, the lower light you can shoot in to avoid using a flash even in dim light.

Taking candid is excellent.
The traditional posed photographs have their place; however, taking candid shots that capture your child without them knowing are often the ones you will treasure the most. The pictures of your child looking directly into the camera are terrific, but also look for opportunities to capture them unaware.
Remember you.
I am mostly the one taking the photographs and rarely in them, and people often comment on that. I know we/I will regret that as the years pass us by.
Learn how to use the cameras self-timer to allow you to become part of the photograph. Using a professional from time to time to take some family photos is a great option, but understand you are not able always to do that.
Always have your camera with you.
All these camera tips are useless if you do not have your camera when you need it. Try taking your camera with you as often as you can so that you do not miss out on unexpected photo opportunities. Even though many phones now have reasonably good cameras built-in, they are usually too low a resolution to generate a decent sized print, making them a poor substitute for a dedicated camera.
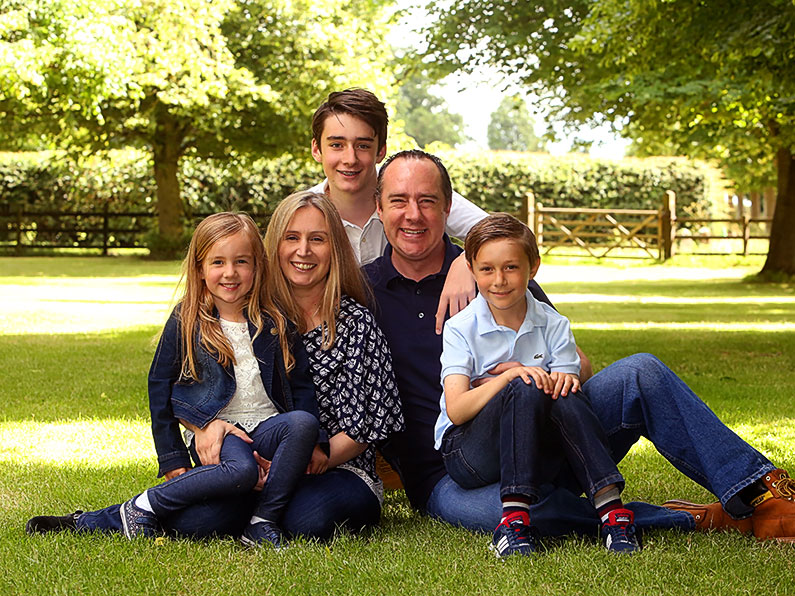
Hire a professional photographer.
Professional photographs are special, and I know you would expect me to say that of course, but if you think about it, that is why you hire a photographer to capture the special times in your family’s life. There is a vast difference between the casual snapshot you can achieve and a carefully composed and executed image that the professional photographer is trained to obtain. Those candid photographs and the professional pictures are both worth their weight in gold: they are your family memories to treasure for generations.
These are some of the times to consider engaging a child portrait photographer:
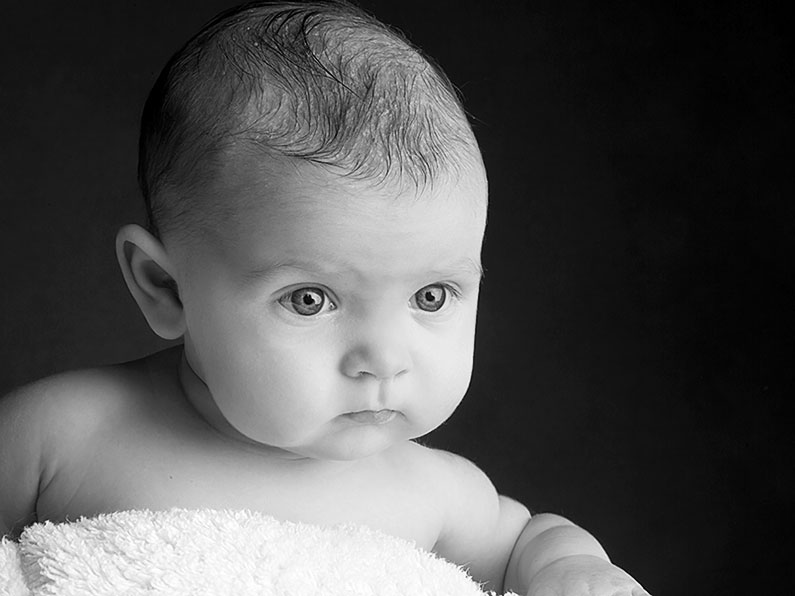
Newborn
Your new baby has arrived, and what a busy time it is, and probably the last thing on your mind is capturing photographs of your new little one. However, the ideal time to have your newborn photographed is within the first few weeks of life the earlier, the better. At this stage, they are at their sleepiest and most cooperative, and you can position them into some adorable poses. Your child will never be so this little again. It is lovely to have this time captured forever.
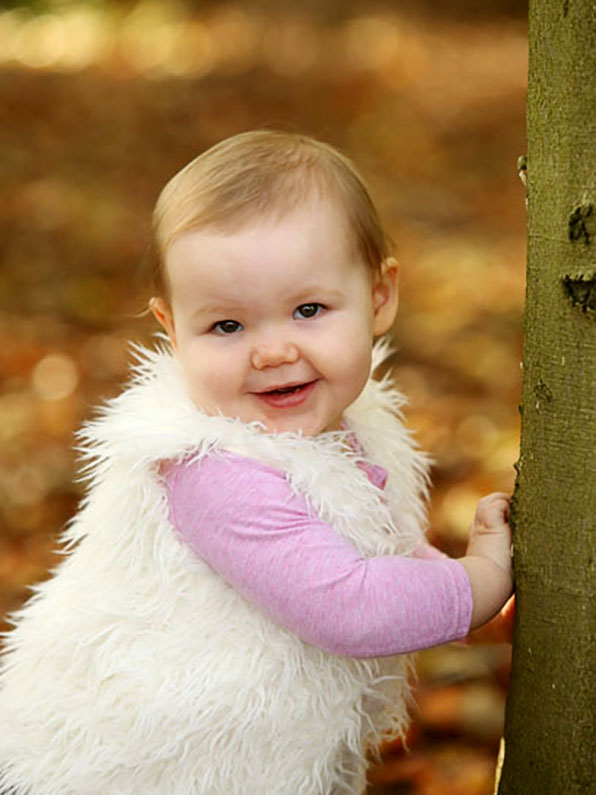
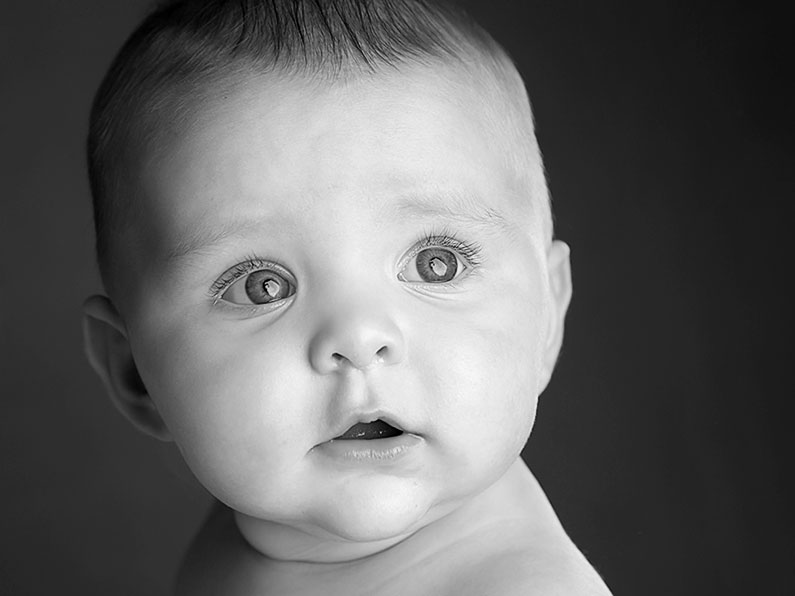
Six to Eight Months
The is the time your child begins to sit up on its own and provides the next significant time for lovely professional photographs. At this stage, they no longer need to be supported and certainly alert and interested.

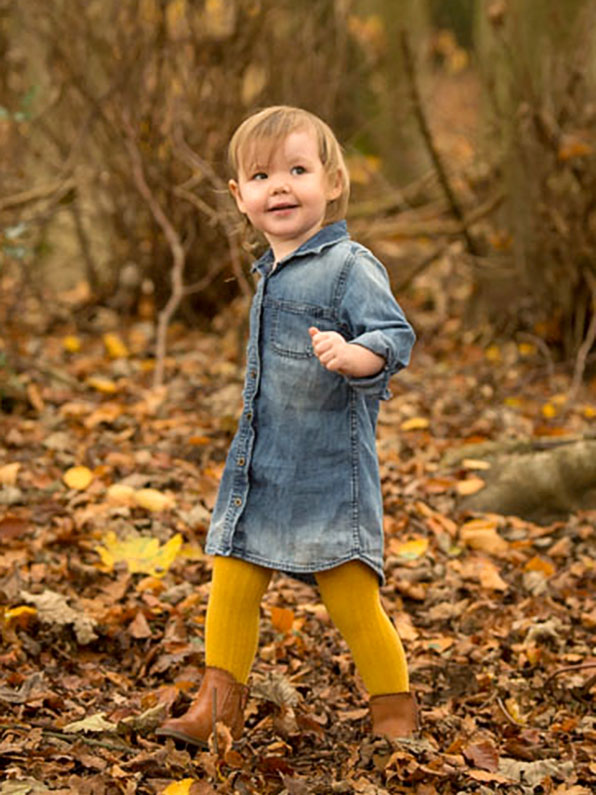
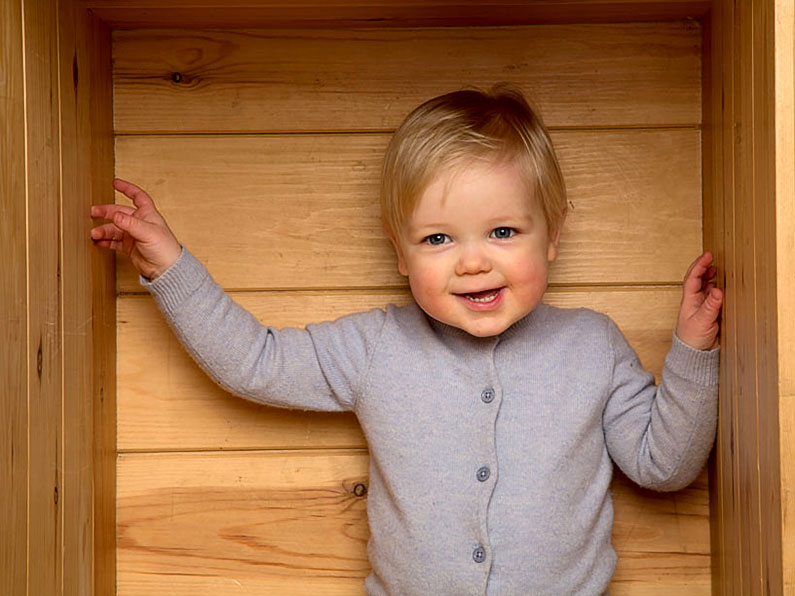
One Year old
At this stage, it can be quite a challenge, as toddlers are just taking their first steps and dashing away from the camera. However, this phase of discovery offers an excellent opportunity for serendipitous shots of your child in action. Why not come along for a cake and celebrate this milestone

Close-ups
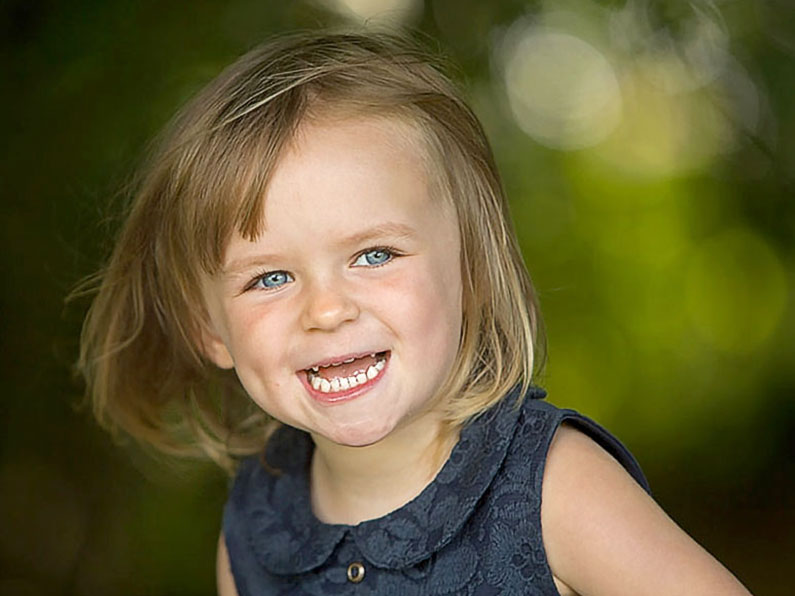
Why not get in as close as you can, to photograph your child. Kneel to their level or lie on the ground. Photographs taken by lots of amateurs are taken so far back that the best details are lost. Get in close, and you will see all the features that make it your child. You will want to capture the glint in their eyes, their little toes, and their little snub nose. It is ok to take some distance shots but do capture some of those closer shots you will not regret it later.
Another advantage of kneeling or lying down is that you will be able to capture them from the best perspective and in the world at their level, a child’s eye view.
Click, click, and click again.
To capture the best photograph requires the shooting of lots of images. To be able to achieve that unique image usually take lots of pictures, it is rare that one image actually captures the moment or the right angle oh I should have said take photographs from different angles as well. Not shooting enough is the most common mistake everybody makes. Because of digital photography, you can take lots of images. I often find that I must take several frames or more to get one terrific shot. Taking lots of pictures will give you lots of choices when you do get around to editing them, ready for a photo frame or album.
Pay Attention to the Background.
Look around the picture before pressing the shutter. I was taught to make sure it is right in the camera. That wire coming out of your child’s head will drive you to distraction. So often you see photographs with a distracting item in the picture, a waste bin a light switch, or a post box in the background, that really should not be there.
We have all done this many times, and I always wish that I had noticed it in that split second before I pressed the shutter. You can, of course, remove or disguise some of these in photoshop. A better habit is to check when taking the photograph that there are no distractions in the background.
Composing your photograph.
It is normal to see the subject in the centre of the viewfinder and start to shoot. There are several rules about composing a photo, but the basic idea is this: framing your subject in the centre of the image, for every photograph is boring.
You could experiment with the composition of your photograph. When your child is looking at something, why not include the item he or she is looking at in the frame, your child might be off-centre, but the photograph is more interesting. Breaking the composition rules can make the picture more interesting. Also, turn your camera around; sometimes, an image is better composed vertically. Remember, it is also essential to check the space and orientation of where you want the final print to hang.
If some cameras you can select different focal points, learn how to adjust your focal point so that it moves out of the central position to where your subject is. With fully automatic cameras, you can do this by pushing the shutter halfway down to lock the focus on your subject before adjusting your composition and pushing all the way down to take a photograph finally.

A Double Act works Better.
The most powerful pictures are generally when the baby or subject looks straight into the camera. Someone once said the eyes are the path to the soul or something similar. I always mess up quotes!
The problem with most cameras is it covers your face and trying to use one even with a side screen, and it is challenging to engage with the subject and shoot at the same time. This is where you need your partner directly behind you going crazy, doing whatever it takes to make your child smile/laugh. Where most people go wrong is, they go to the side of the photographer, which means the eyes of the subject are off centre. You must be in line with the camera to make this technique work.
Use Props and Toys
A fantastic aid to use when photographing young children is bubbles. Suddenly, a child’s eyes will light up when you reveal the bright bottle or machine. Different children react to different things; for example, it might be a song or a video clip of their brother laughing so experiment. Again, two of you will find it easier than just one person trying to entertain and take pictures at the same time.
And Finally
If you cannot justify buying a camera.
There are lots of great apps that can be downloaded to improve on your smartphone’s built-in camera. For instance, Camera Plus Pro this enables burst mode on your camera phone, you can then take a
series of photos that help you capture your superstar while they are moving. With Instagram, you can give your newborn baby pictures a dreamy vintage look. You can also download Adobe Photoshop Express (free), which lets you edit photos, including cropping and brightening images, right on your phone. You should also check out the Grow with Me app by What to Expect, which creates a document your baby’s daily changes.
However, if you rather not have to learn all of the above, then please get in contact, and I will be happy to shoot your family with a camera!
Feel free to send me your results if any of you were inspired. Kind Regards
Andy.